


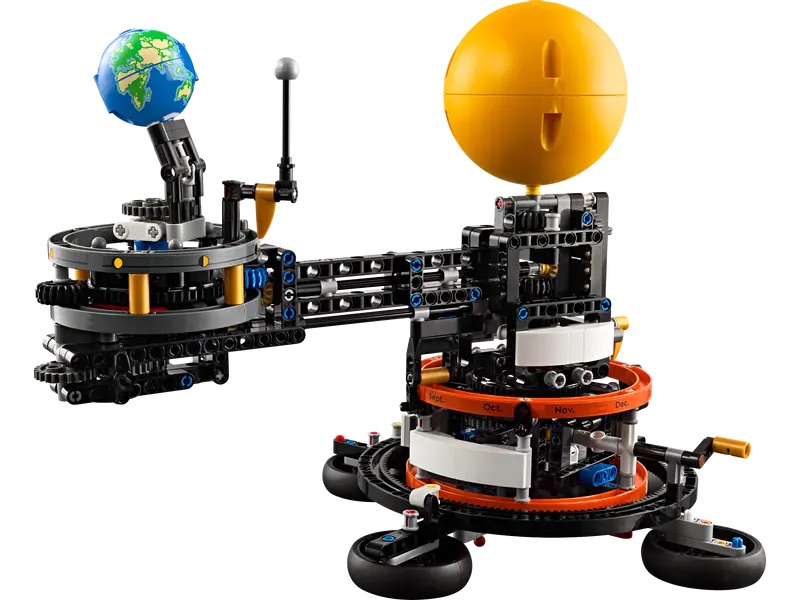
Project Overview
Technical Specifications
- Age: 10+
- Total Bricks: 526
- Weight: 551 grams
- Dimensions: 33.5 × 19 × 26 cm (L × W × H)
- Technology: Lego Technic
- Building time: 3 hours
Interactive Solar System
Explore the orbital mechanics that inspired this build through an interactive 3D model of our solar system.
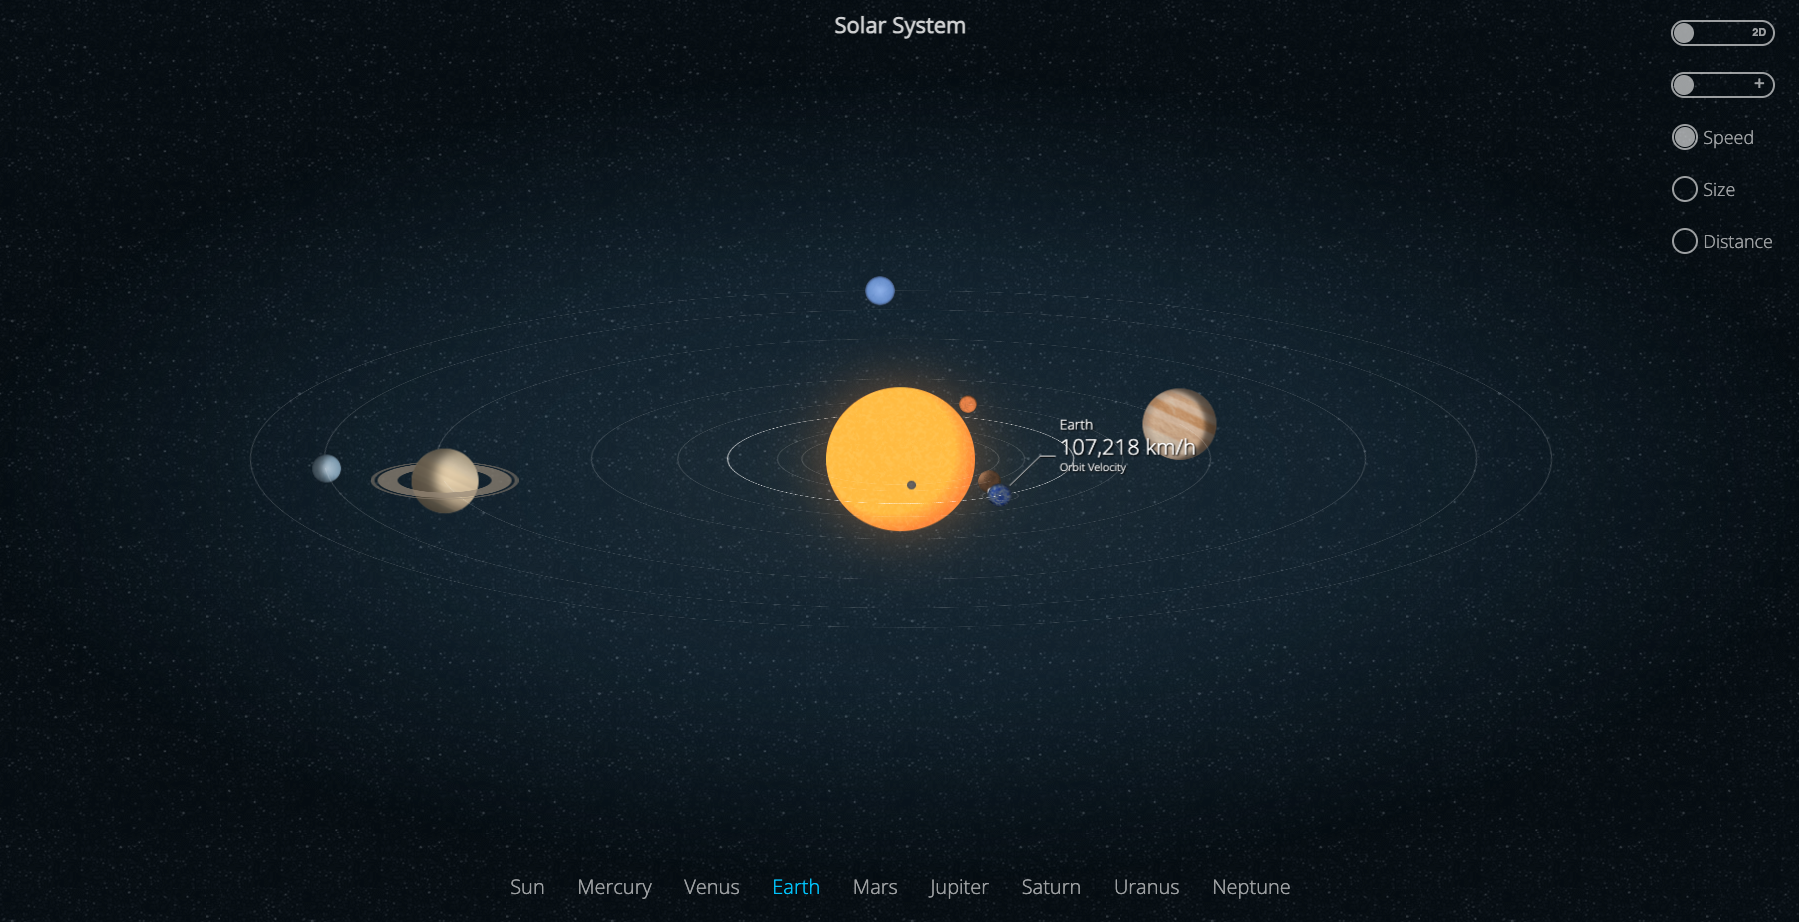
Launch Interactive Model
Experience planetary motions in real-time 3D visualization
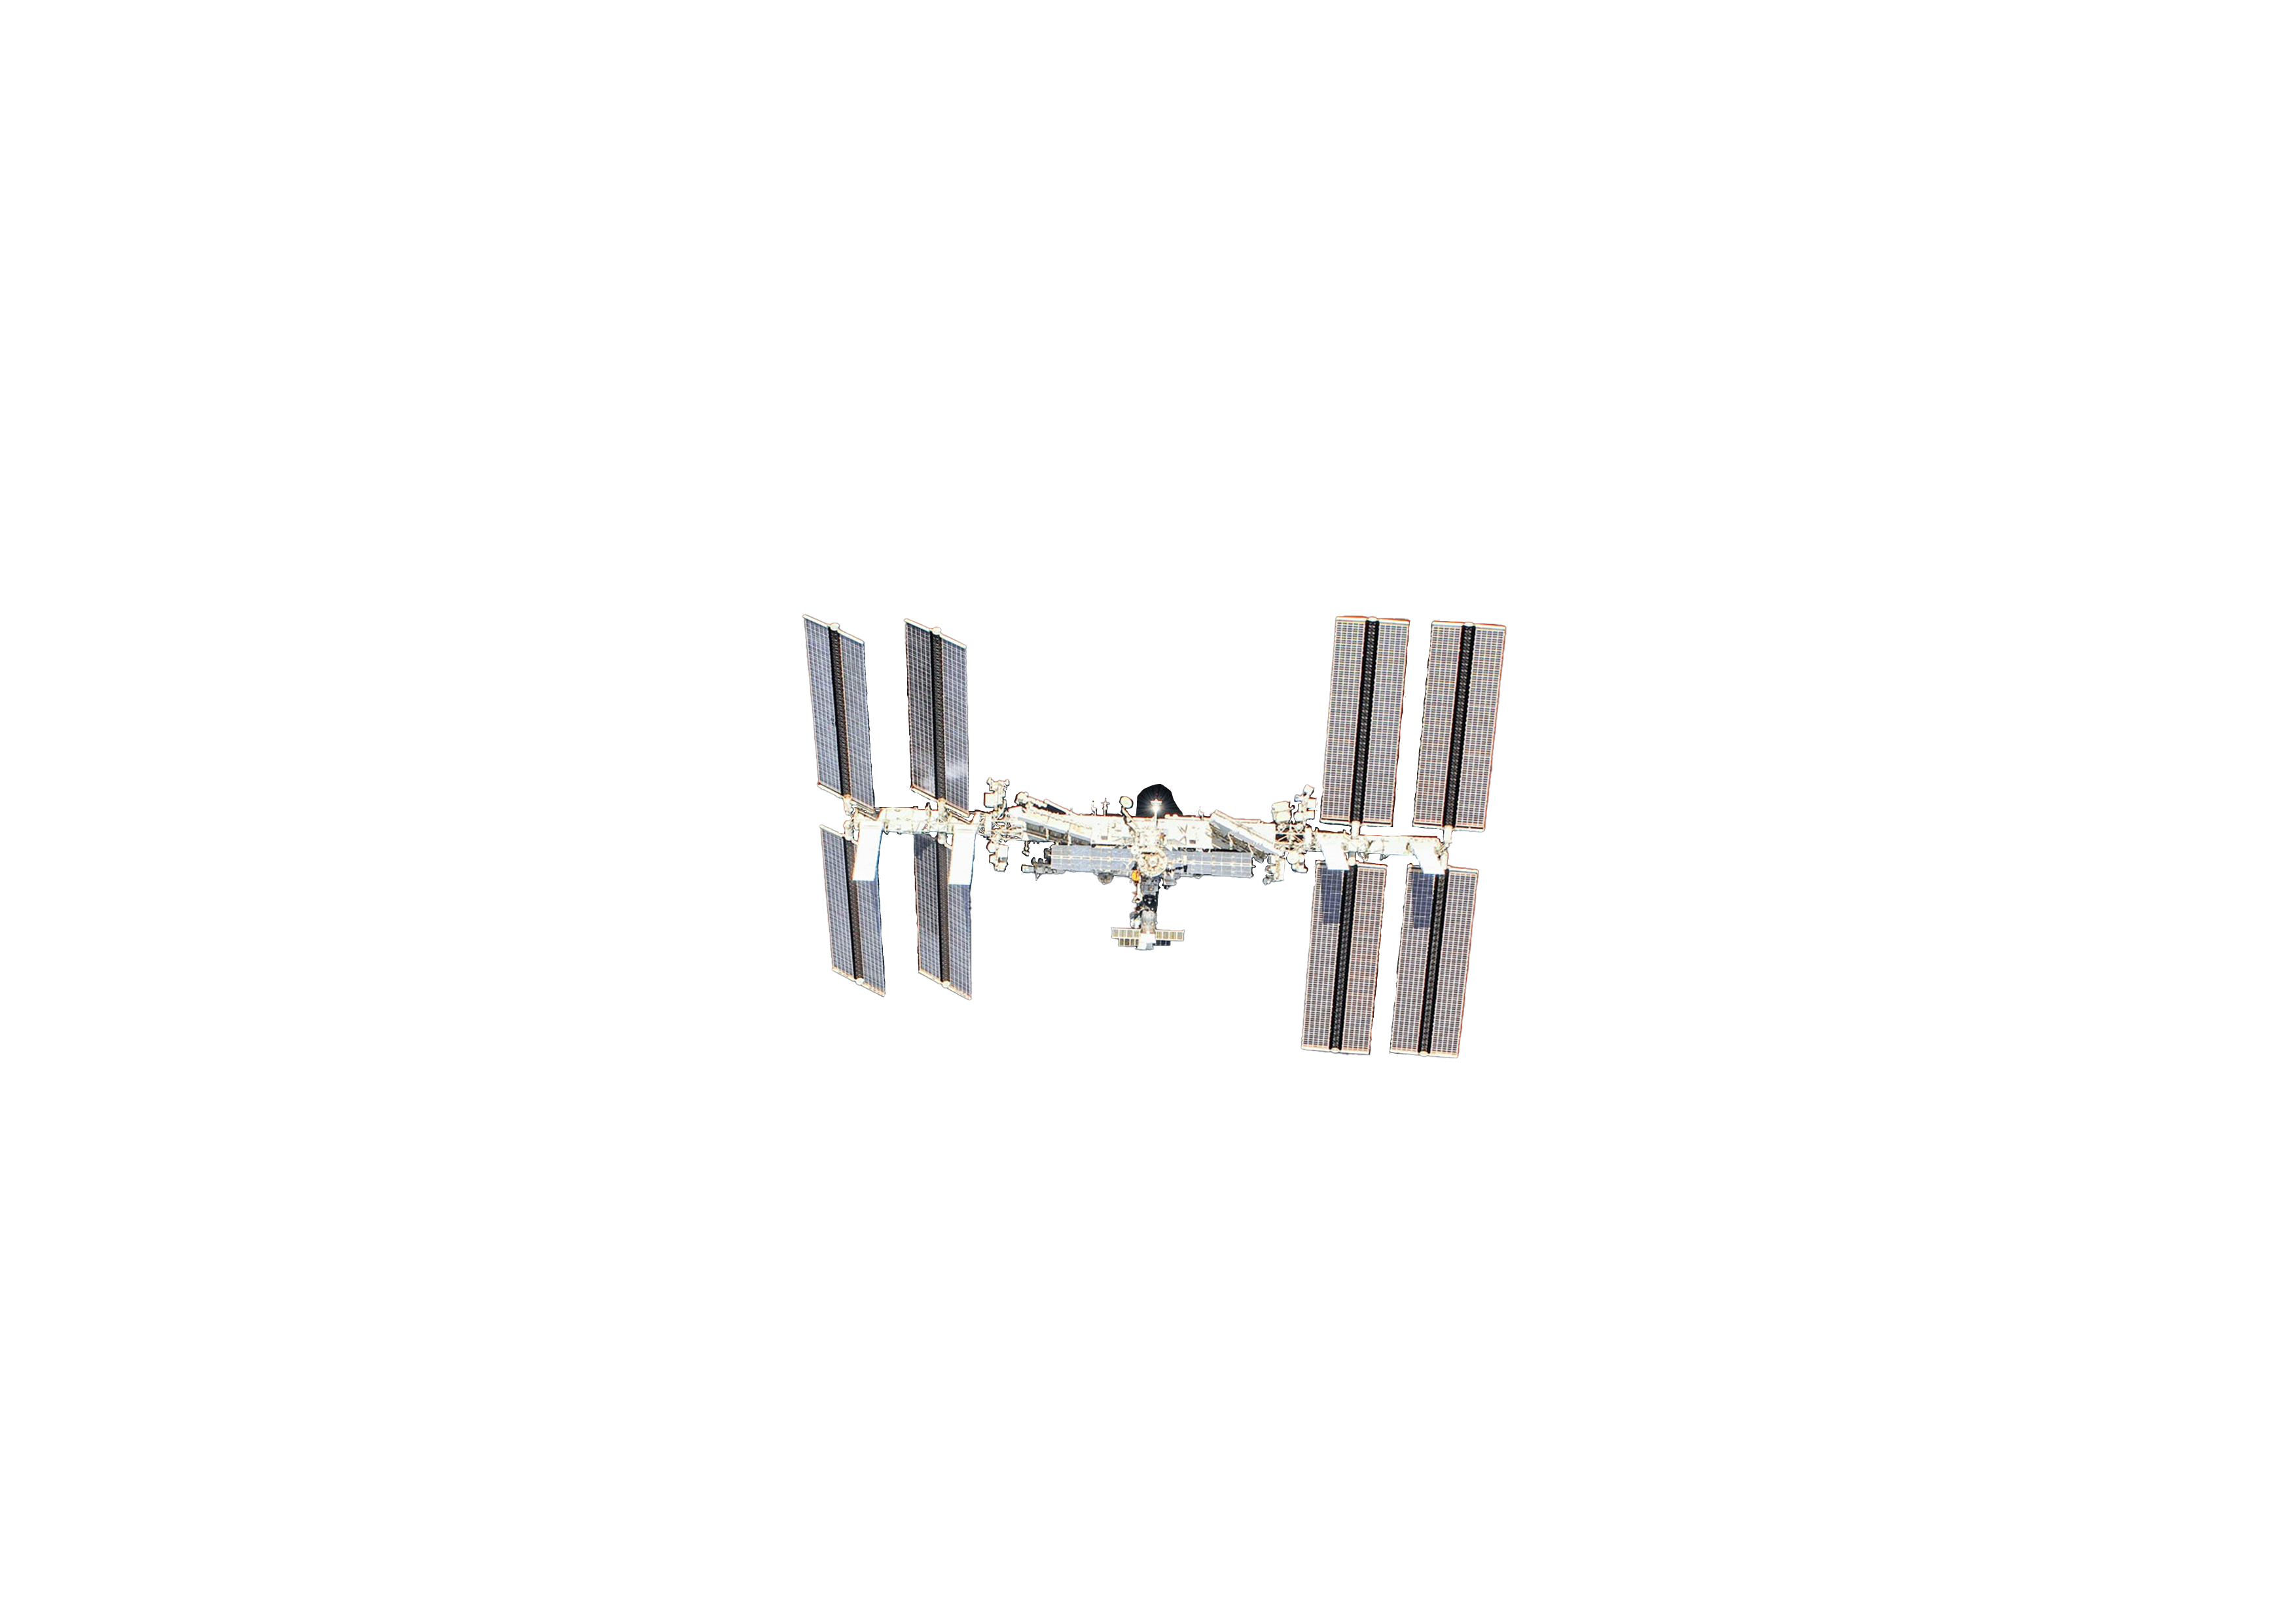
Open Solar SystemEngineering Journey: The Earth and Moon in Motion
Box Acquisition
Purchase the set, gather necessary tools, and prepare the workspace.
Research Phase
Study the mechanics of the system, including orbital mechanics and gear systems.
Prototyping
Test different gear ratios to ensure smooth operation of the Earth and Moon system.
Final Build
Assemble and fine-tune the system to create a fully functioning model.
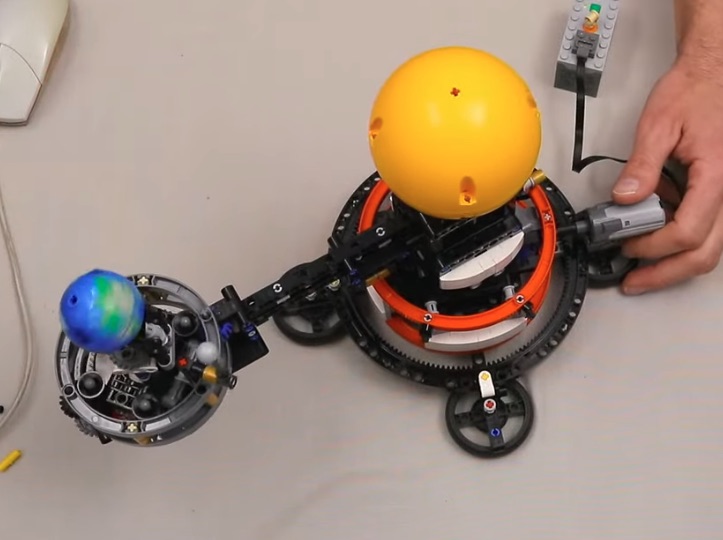
Activation of Functions
Test the functionality and confirm the Earth and Moon motion works as intended.
Reflection & Troubleshooting
Make necessary adjustments to improve performance and solve any issues.
Final Review & Enjoyment
Enjoy the completed model and share the experience of building with others.
An Interactive Journey: Constructing the Lego Technic Model
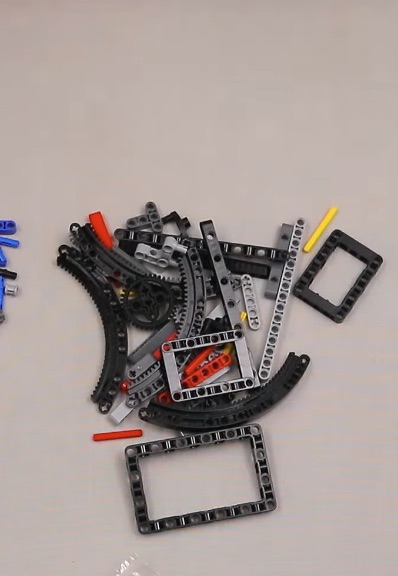
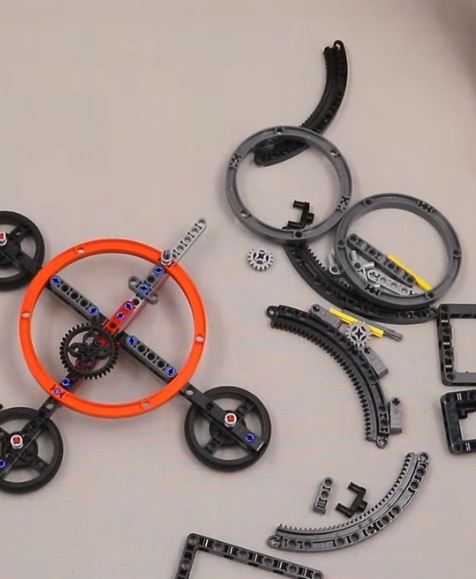
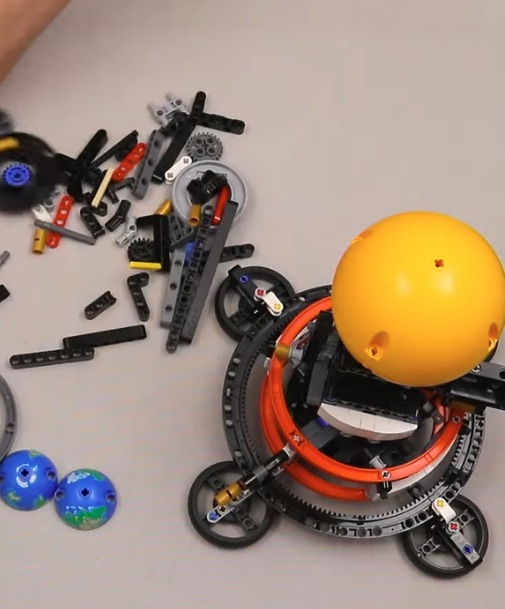
Step 1: Gathering the Parts
Begin by carefully unpacking the Lego Technic set and laying out all the necessary components.
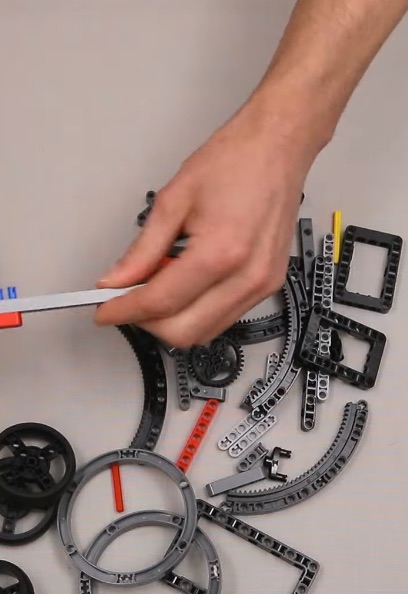
Step 2: Constructing the Base
Start by building the sturdy foundation of the model using the provided Lego Technic pieces.
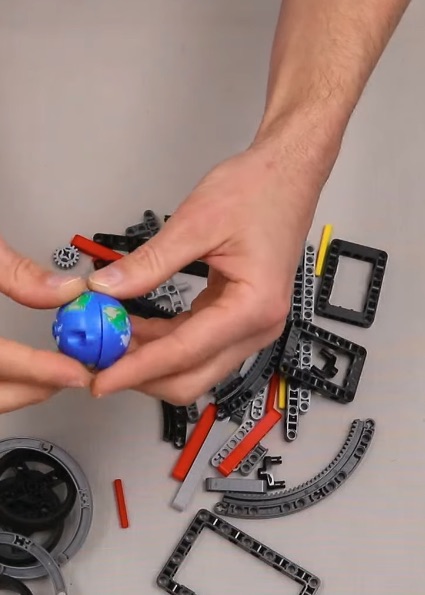
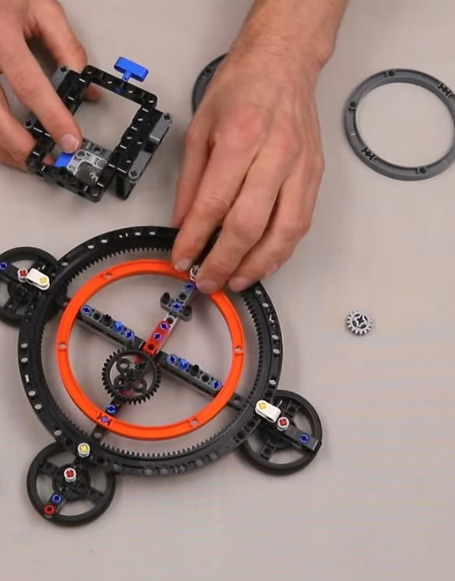
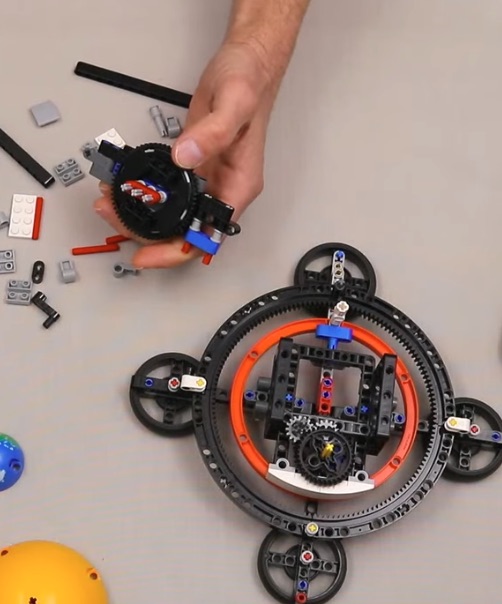
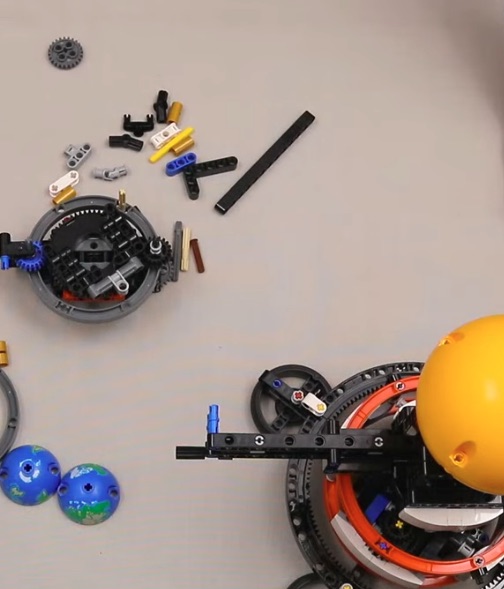
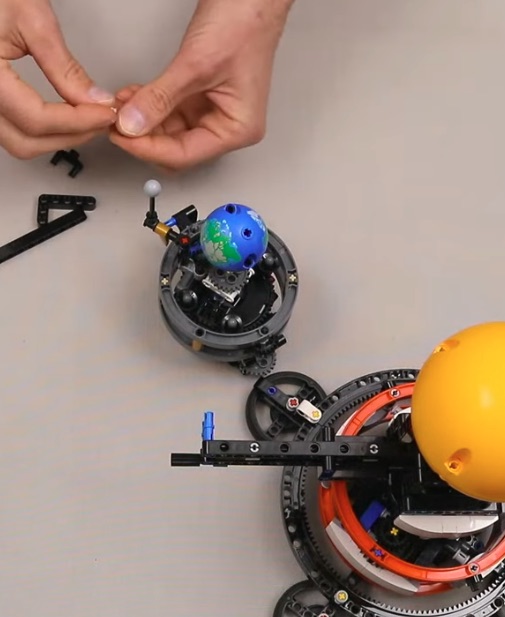
Step 3: Assembling the Gears
Carefully connect the gears and mechanisms that will power the motion of the model.
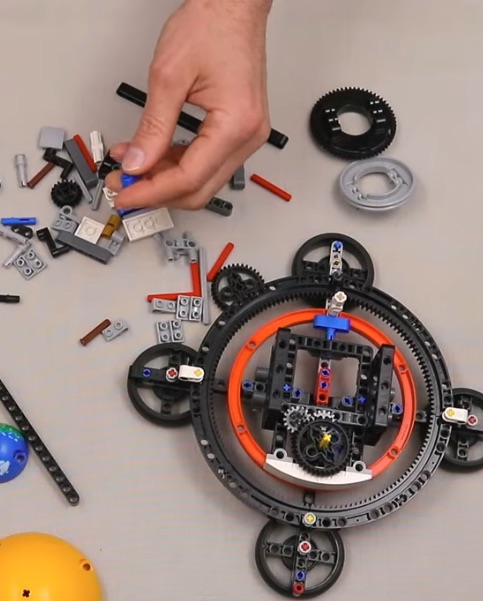
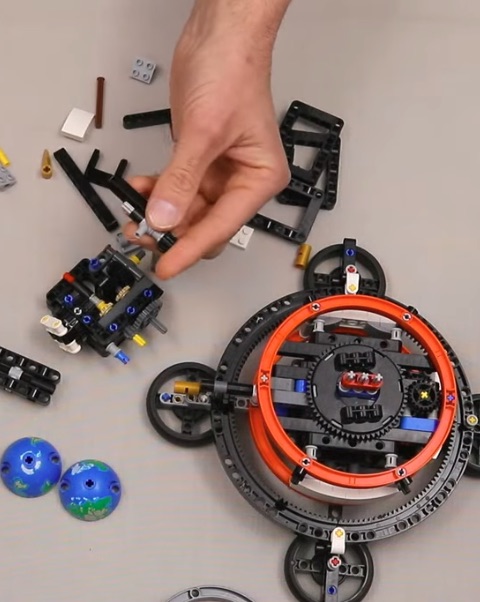
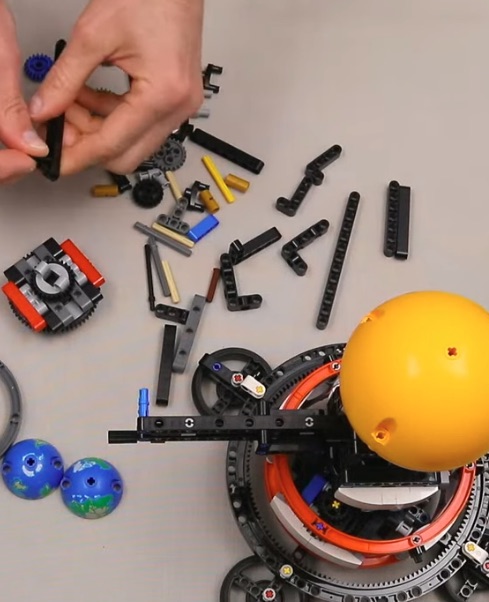
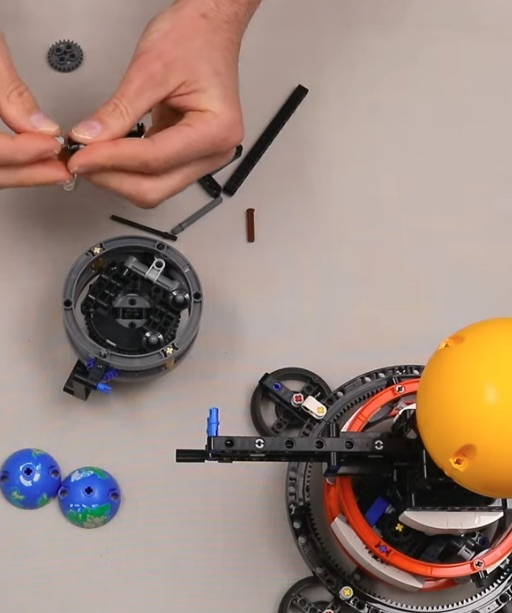
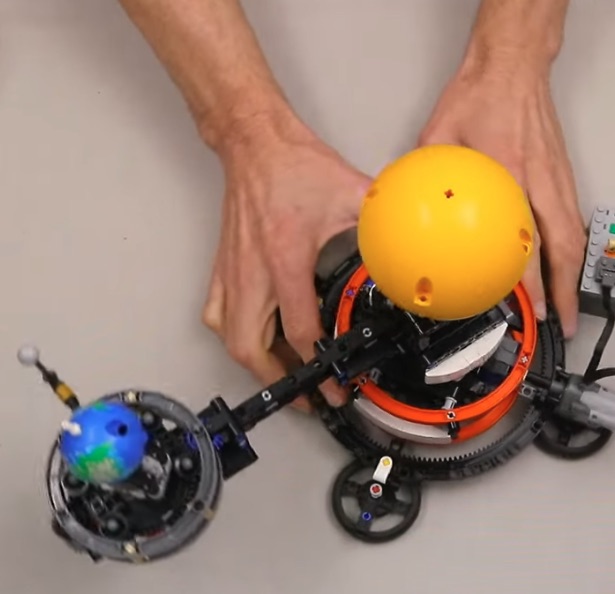
Step 4: Building the Frame
Construct the outer frame of the model to support its mechanical components.
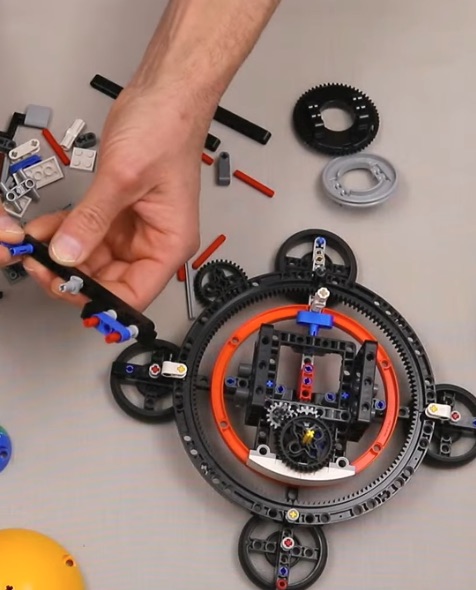
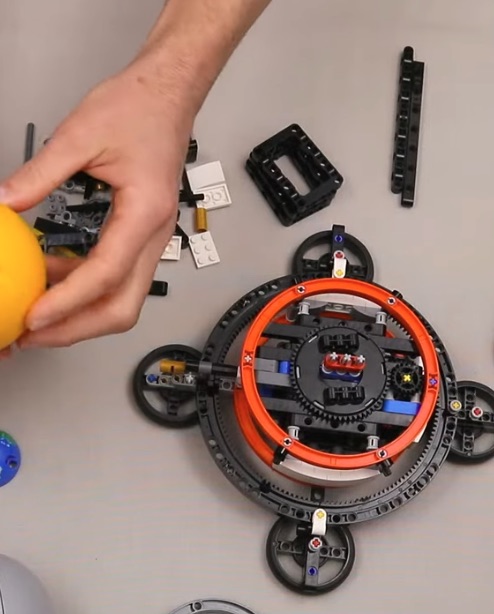
Step 5: Adding the Wheels
Attach the wheels to the base, ensuring they are securely connected for smooth motion.
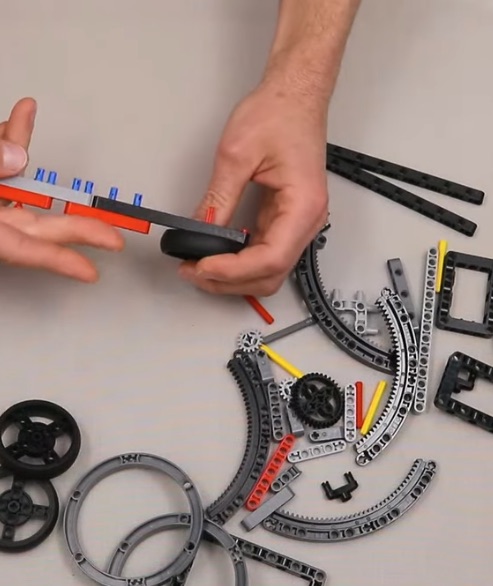
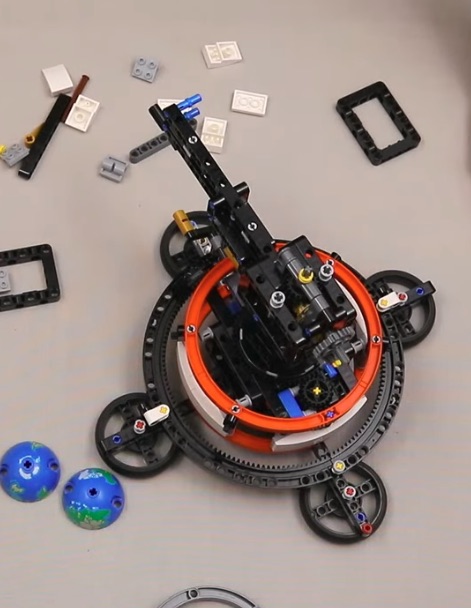
Step 6: Installing the Engine
Place the motor in its designated position and connect it to the gear system for functionality.
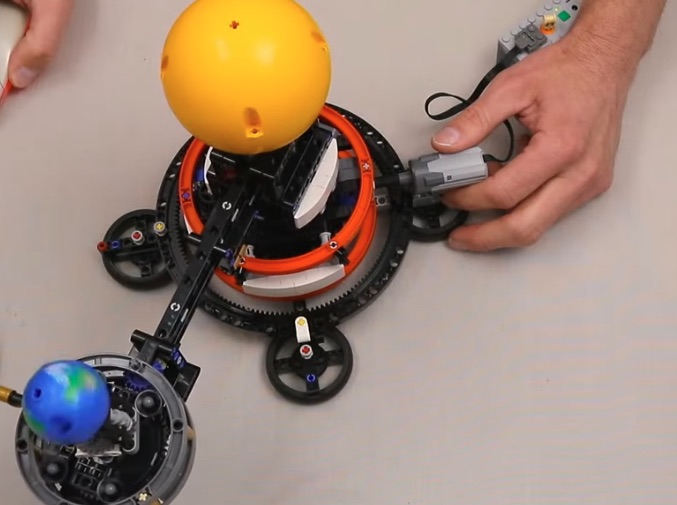
Step 7: Connecting the Electronics
Integrate the electronic components, such as sensors or remotes, for interactive control.
Step 8: Adding the Finishing Touches
Complete the model by adding the decorative elements and ensuring all parts are secure.
Step 9: Testing the Mechanisms
Turn on the motor and test the moving parts to ensure everything works as intended.
Step 10: Refining the Details
Double-check all connections and tighten any loose components for a polished build.
Step 11: Customizing Your Model
Add custom decals or personal touches to make your model uniquely yours.
Step 12: Displaying the Finished Model
Show off your completed Lego Technic masterpiece proudly on your display shelf.

Step 13: Adding Advanced Features
Integrate additional mechanisms like suspension or advanced controls to enhance the model's functionality.
Step 14: Fine-Tuning the Build
Revisit each section to ensure seamless integration of all components and mechanisms.

Step 15: Testing Mobility
Roll the model across a flat surface to evaluate its mobility and balance.
Step 16: Enhancing Stability
Strengthen any sections that seem unstable or prone to detachment during use.
Step 17: Finalizing the Aesthetics
Polish the exterior by aligning panels and adjusting decorative elements.
Step 18: Demonstrating Functions
Show off the operational capabilities of your Lego Technic model, including any motorized features.
Step 19: Capturing the Build
Take high-quality photos or videos of your completed model for sharing with friends or online communities.
Step 20: Sharing Your Creation
Upload your photos or videos to showcase your work and inspire other builders.

Step 21: Reflecting on the Process
Take a moment to appreciate the effort and creativity that went into building your Lego Technic masterpiece.
Step 22: Displaying in Style
Create a dedicated space to display your model, perhaps alongside other creations.
Step 23: Engaging with the Community
Join online forums or groups to connect with other Lego Technic enthusiasts and share your experience.
Step 24: Planning Your Next Build
Use the skills and inspiration gained from this project to plan your next Lego Technic adventure!
Interested in collaborating?
I’m always open to discussing new creative projects.
Back to Projects Contact Me